Your iPhone camera is amazing. It’s packed with features to take stunning photos. But here’s the catch.
Most people don’t know how to use them. They stick to the default settings and wonder why their photos look plain.
Imagine this. You’re at a beautiful beach. The sun is setting, the sky is a mix of orange and pink, and you grab your iPhone to capture it.
But the photo? It looks dull or too dark. It doesn’t show what your eyes see. Frustrating, right?
Here’s the good news. With just a few simple tweaks, you can unlock your iPhone’s full potential.
This guide will show you the best camera settings to help you take photos that are sharp, bright, and frame-worthy. Let’s get you started!
What are the most important iPhone camera settings?
Your iPhone camera is powerful, but you need to know the right settings to take great photos.
It’s not just about pointing and shooting. With a few small changes, your pictures can look much better.
There are key settings that make a huge difference. Things like HDR, Night Mode, and the Portrait feature can take your photos to the next level.
These settings help with tricky lighting, focus on your subject, or make colors pop.
Whether you’re taking casual family pictures or exploring photography as a hobby, knowing these settings is a game-changer.
You’ll see an immediate difference in your photos, and it’s easier than you think to start. Let’s go through them step by step!
Best iPhone Camera Settings for Better Looking Photos
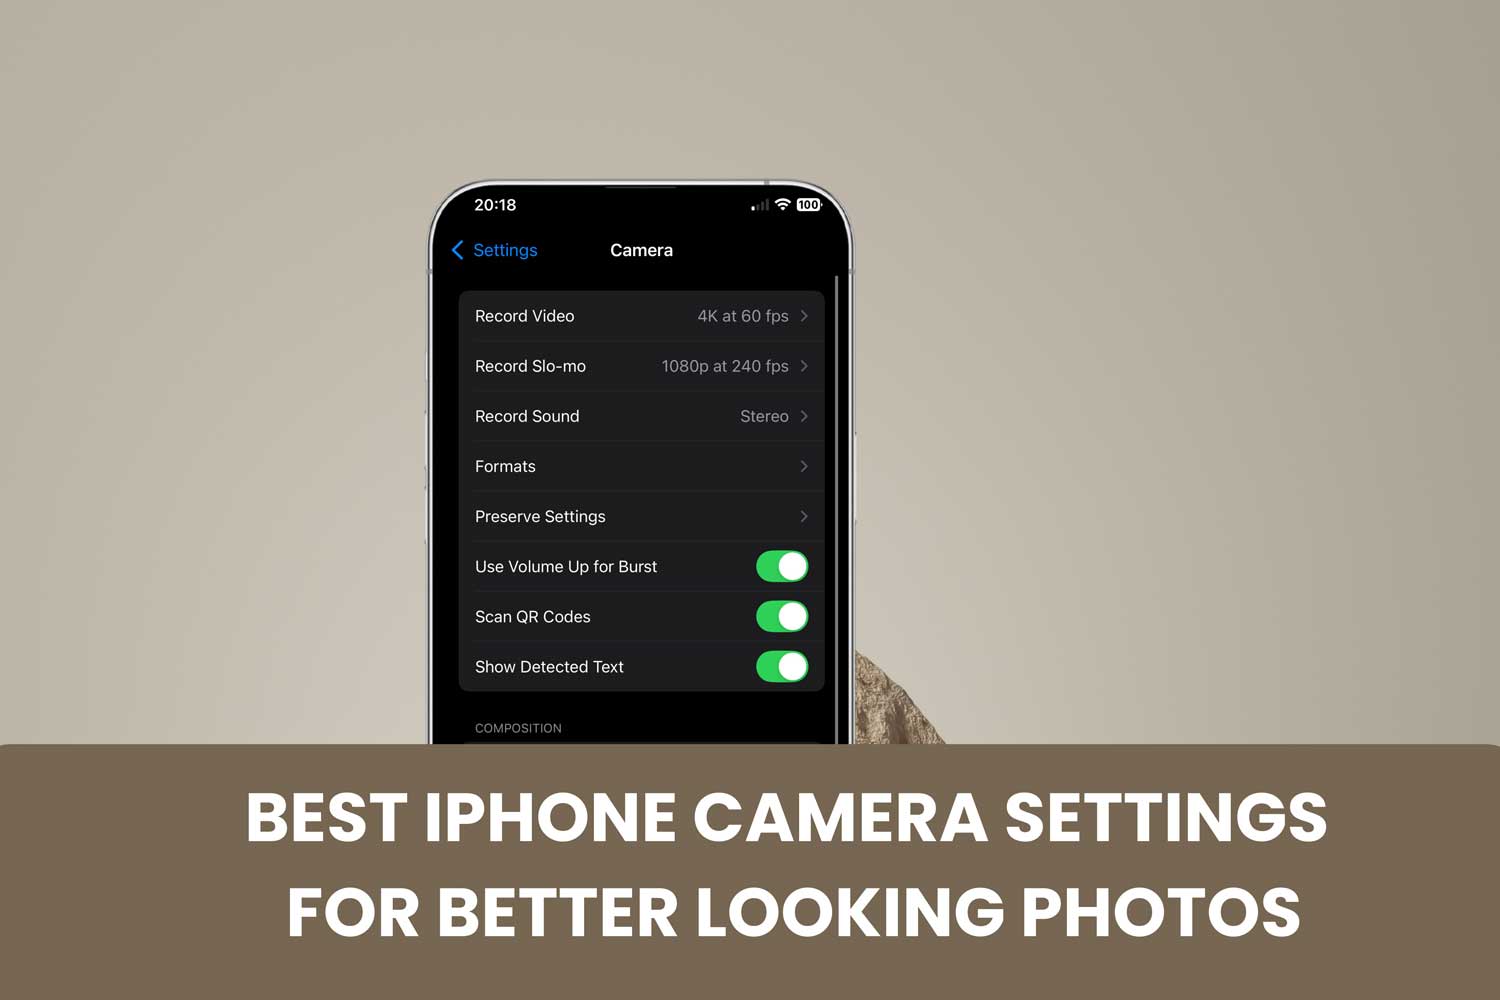
#1 Adjust video resolution for better clarity
Video resolution decides how clear and sharp your videos look. Higher resolution, like 4K, makes your videos crisp and vibrant.
It’s perfect for capturing details, whether you’re filming a scenic view or a family moment.
It’s easy!
- Open Settings on your iPhone.
- Scroll down and tap Camera.

- Select Record Video.
- Choose 4K at 30fps or 4K at 60fps.

If you’re recording fast-moving scenes, like sports or kids playing, go for 60fps. For regular videos, 30fps works great.
#2 Enable HDR for dynamic lighting conditions
HDR, or High Dynamic Range, makes your photos look better in tricky lighting. It balances bright and dark areas by combining multiple exposures into one photo.
This is great when you’re shooting in sunlight or dim lighting.
- Open your iPhone’s Camera app.
- Look for the HDR badge at the top.
- Tap it and set it to Auto.

With HDR on Auto, your iPhone will decide when it’s best to use it, so you don’t have to think about it. Simple, right?
#3 Use portrait mode for professional-looking photos
Portrait Mode is amazing if you want your subject to stand out. It blurs the background while keeping the person, pet, or object in focus.
This gives your photo a professional, DSLR-like look.
Use it for close-ups of people, pets, or even objects like flowers. It works best in good lighting or controlled conditions, like indoors or on a sunny day.
- Open the Camera app.
- Swipe through the modes at the bottom until you see Portrait.
- Follow the on-screen tips, like “Move closer” or “Add more light.”

Portrait Mode naturally blurs the background, but if you want even more control, you can blur parts of a picture on an iPhone for a creative touch.
Once everything looks good, snap your photo. That’s it!
#4 Master live photos to capture movement
Live Photos are not just pictures. They’re short video clips. They capture a few seconds of movement before and after you take the shot.
It’s perfect for moments like laughter, waves, or a quick action.
How to turn it on/off:
- Open the Camera app.
- Tap the Live Photo icon at the top.
- If it’s white with a line through it, it’s off.
- If it’s yellow, it’s on.

Pro tip: Not happy with the exact frame?
- Go to the photo in your Photos app.

- Tap Edit, then scroll through the timeline.
- Click on live.

- Pick the best frame as your Make Key Photo.

This way, you always get the perfect shot!
#5 Leverage night mode for low-light photography
Night Mode is a lifesaver when you’re in the dark. It makes your photos brighter and clearer without needing flash.
You’ll see more details, even in dim settings. It’s super easy.
- Open the Camera app.
- Night Mode turns on automatically when it’s dark.
- You’ll see a yellow moon icon at the top.

Want more light? Adjust the timer slider next to the moon icon.
A longer timer means more light, but hold your phone steady for the best results. Done!
#6 Use burst mode for action shots
Burst Mode is perfect for fast-moving moments. It takes a bunch of pictures quickly, so you don’t miss the best shot. Great for kids, pets, or sports.
- Open the Camera app.
- Hold down the shutter button.
- On newer iPhones (iOS 16+), swipe it to the left instead of holding it.

Your iPhone will snap several photos in a row. Check your gallery, pick the best one, and delete the rest. Easy!
For the best Portrait Mode shots, lighting and stability matter. If you’re taking a group photo or want to avoid shaky hands, try using a timer.
#7 Experiment with exposure and focus
Exposure controls how bright or dark your photo looks.
Adjusting it helps make your pictures clearer and more balanced, especially in tricky lighting.
- Open the Camera app.
- Tap on the part of the screen where you want to focus.

- You’ll see a small sun icon appear. Swipe up to make it brighter or down to make it darker.
Pro tip: Want to keep your focus and brightness locked?
- Tap and hold on the screen until AE/AF Lock appears.
- This keeps your settings steady, even if you move your phone.

Now, your subject will stay sharp and well-lit!
#8 Enable gridlines for better composition
Gridlines help you compose your shot by dividing the screen into nine equal sections.
This makes it easier to follow the rule of thirds, a simple trick for better-looking photos.
- Open Settings on your iPhone.

- Scroll to Camera.
- Toggle on Grid.

Now, when you open your camera, you’ll see the gridlines. Use them to line up your subject and make your photos look more balanced and professional!
If you’re not sure how to use gridlines effectively, we’ve covered adding gridlines to your iPhone camera as well.
#9 Try macro mode for close-ups (supported models)
Macro Mode is perfect for up-close photos. It captures tiny details like the texture of leaves, the pattern on fabric, or the intricate design of a flower. Your pictures will look sharp and stunning.
- Open the Camera app.
- Bring your iPhone very close to the subject. Just a few centimeters away.
- Look for the flower icon on your screen. When it appears, Macro Mode is active.
If it doesn’t switch automatically, try adjusting the angle or moving slightly closer. Macro Mode will work its magic!
#10 Preserve your preferred camera settings
Tired of redoing your camera settings every time you open the app? This feature saves your adjustments like Portrait Mode or Gridlines, so you don’t have to set them up again.
- Go to Settings on your iPhone.
- Tap Camera.
- Select Preserve Settings.
- Toggle on the options you want to save, like Camera Mode, Live Photos, or Creative Controls.

Once you set this up, your camera will always open with your favorite settings ready to go. Simple and hassle-free!
The takeaway
Your iPhone camera can do so much more than you think.
By exploring settings like Portrait Mode, HDR, and Macro Mode, you can turn your everyday photos into something truly amazing. These tools are simple to use and make a big difference.
Don’t be afraid to experiment. Adjust exposure, enable gridlines, and try Night Mode.
These small changes can bring your photos to life and help you find your own style.
Once you’ve taken your perfect shot, don’t forget to enhance it!
Remember, photography is all about trying new things.
So, go ahead, test these tips, and share your favorite settings in the comments!


