Did you know that over 1 billion Apple devices worldwide use iMessage? It’s a hugely popular messaging service, but sometimes it can hit a snag.
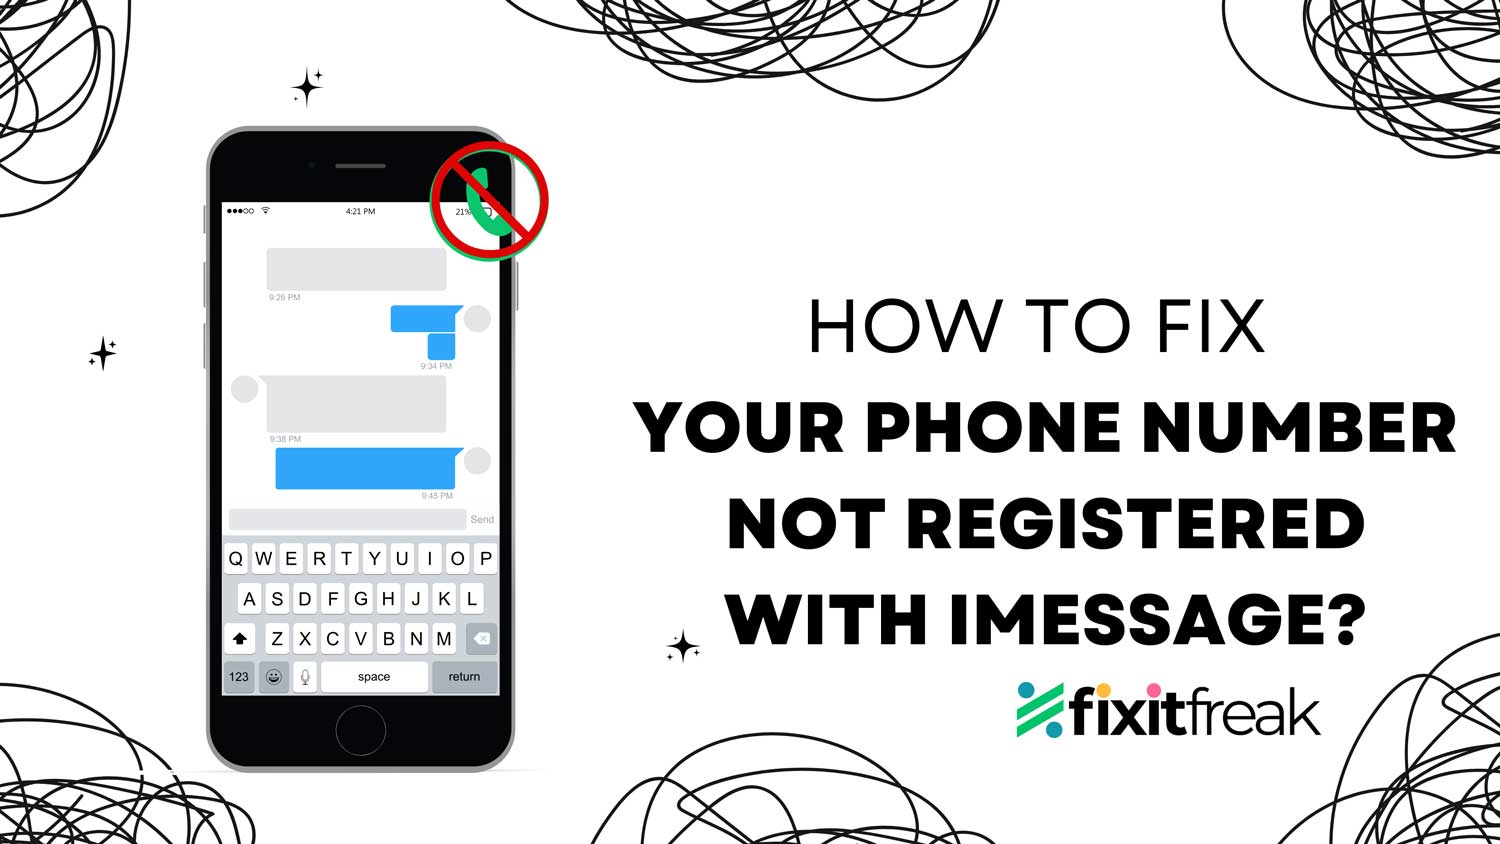
Are you trying to send a message right now and seeing the error “phone number is not registered with iMessage“?
This is a common problem that can leave you feeling stuck. It often happens when there’s a glitch in your iMessage settings or a problem with your Apple ID.
The good news is, while it’s frustrating, it’s usually not a serious issue. There are several ways to fix it, and they’re all pretty simple.
You don’t need to be a tech expert to get your iMessage working again.
In this guide, you’ll learn why this error occurs and how to solve it.
We’ll walk through some easy steps to get you back to messaging your friends and family. Ready to fix that pesky iMessage problem? Let’s get started!
What does “Phone number not registered with iMessage” mean?
When you see the “Phone Number Not Registered With iMessage” error, it means iMessage is having trouble recognizing the phone number you’re trying to message. Let’s break this down in simple terms.
iMessage is Apple’s special messaging service for its devices like iPhones, iPads, and MacBooks.
Think of it as an exclusive club for Apple gadgets. You can use it to send messages, photos, and more to other Apple devices, but it won’t work with non-Apple phones like Androids.
Normally, when you send a message from your Apple device to another, iMessage recognizes both phone numbers without any issues.
But sometimes, even when both you and the person you’re messaging are using Apple products, this error can pop up.
It’s as if iMessage has temporarily forgotten that both phones are part of its system, similar to what happens during the iMessage waiting for activation error.
This can be really frustrating, especially if you’re trying to send something important.
But don’t worry. In the next sections, we’ll explore why this happens and how you can fix it. Stick with me, and we’ll get your iMessage working smoothly again.
How to fix the “Number not registered with iMessage” error
Seeing the “Number Not Registered with iMessage” error can be frustrating, but don’t worry.
There are several ways to fix it. Let’s go through them step by step.
1. Turn iMessage off and on again
Sometimes, the simplest solution works best. Here’s what you need to do:
- Open the Settings app on your device.
- Click on Apps.

- Scroll down and tap on “Messages“.
- Find the iMessage switch and turn it off.
- Wait for about a minute.
- Turn iMessage back on.

While you’re at it, why not restart your device too? It can help clear up minor glitches.
2. Make sure your Apple ID is set up correctly
Your Apple ID might be causing the problem. Here’s how to check:
- Go to Settings, then Messages.
- Tap on “Send & Receive“.
- If you see “Use your Apple ID for iMessage,” tap it.
- Check that your phone number is selected under “. You can receive iMessages to and reply from“.

Don’t forget to verify your Apple ID in the Messages preferences. It’s like making sure your ID card is up to date.
3. Set up text message forwarding
If you’re only seeing the error on some of your devices, text message forwarding might help. Here’s what to do:
- On your iPhone, go to Settings, then Messages.
- Tap on “Text Message Forwarding“.
- Turn on forwarding for the devices where you want to receive iMessages.

4. Start a new conversation
Sometimes, starting fresh can solve the problem:
- Open the Messages app.
- Delete the conversation where you’re seeing the error.
- Start a new chat with the same person.

- Send a message and see if it goes through as an iMessage (blue bubble).

5. Update your iPhone’s software
If nothing else has worked, try updating your iOS:
- Go to Settings, then General.

- Tap on “Software Update“.
- If an update is available, install it.

Keeping your iOS up to date can fix many issues and even give you new features.
6. Check your cellular data or Wi-Fi connection
Sometimes, the error can occur due to poor internet connectivity:
- Make sure you’re connected to a stable Wi-Fi network or have a good cellular data connection.
- Try toggling your Wi-Fi or Cellular Data off and on in Settings.
- If you’re using cellular data, ensure that “Mobile Data” is enabled for Messages in Settings > Cellular.
7. Get help from Apple
If you’re still stuck, it’s time to ask the experts:
- Check Apple’s forums for similar issues and solutions.
- Contact Apple Support directly for personalized help.
- Or make a reservation at an Apple Genius Bar for in-person assistance.
Remember, Apple’s support team is there to help you. They have the knowledge and tools to solve even tricky problems.
8. Additional tip: Check your carrier settings
Sometimes, outdated carrier settings can cause iMessage issues:
- Go to Settings > General > About.

- If there’s an update available, you’ll see a prompt to update your carrier settings.
- Follow the prompts to update your carrier settings.
This can often resolve connectivity issues that may be affecting iMessage registration.
The takeaway
Dealing with the “Number Not Registered with iMessage” error can be a real headache, but it’s not an unsolvable problem.
We’ve explored several ways to fix this issue, from simple tricks like turning iMessage off and on again to more involved steps like updating your iOS.
Remember, the most common solutions include checking your Apple ID settings, setting up text message forwarding, and making sure your software is up to date.
Don’t forget that sometimes, starting a fresh conversation can do the trick. It’s also worth checking your internet connection, as poor connectivity can often be the culprit.
Many people think that this error means their phone number isn’t working, but that’s usually not the case.
Sometimes, reviewing things like your iPhone unlock history or carrier settings can reveal small issues causing the glitch.
The most important thing to remember is that you’re not alone in this. If you’ve tried everything and still can’t get iMessage to work, don’t hesitate to reach out to Apple Support.
They’re there to help and can often solve even the trickiest problems. Keep trying, stay patient, and you’ll be back to sending blue bubbles in no time!
We’d love to hear about your experience. Have you faced this issue before? What worked for you? Share your thoughts in a comment below.


