Did you know that over 1 billion people worldwide use iPhones? That’s a lot of potential photos! But how often do you find yourself left out of the picture because you’re the one taking it?
This is where your iPhone’s camera timer comes in handy. It’s a simple feature that lets you set up your shot and then gives you time to get in the frame before the photo is taken. Many people don’t know about this feature or aren’t sure how to use it.
The good news is that using the timer is easy once you know how. Whether you want to take a selfie without that awkward arm position or you want to join a group photo, the timer can help.
In this article, you’ll learn how to set up and use the camera timer on your iPhone.
We’ll walk you through the steps, explain your options, and share some tips to help you get great photos every time. By the end, you’ll be ready to capture memories with you in them, not just behind the camera.
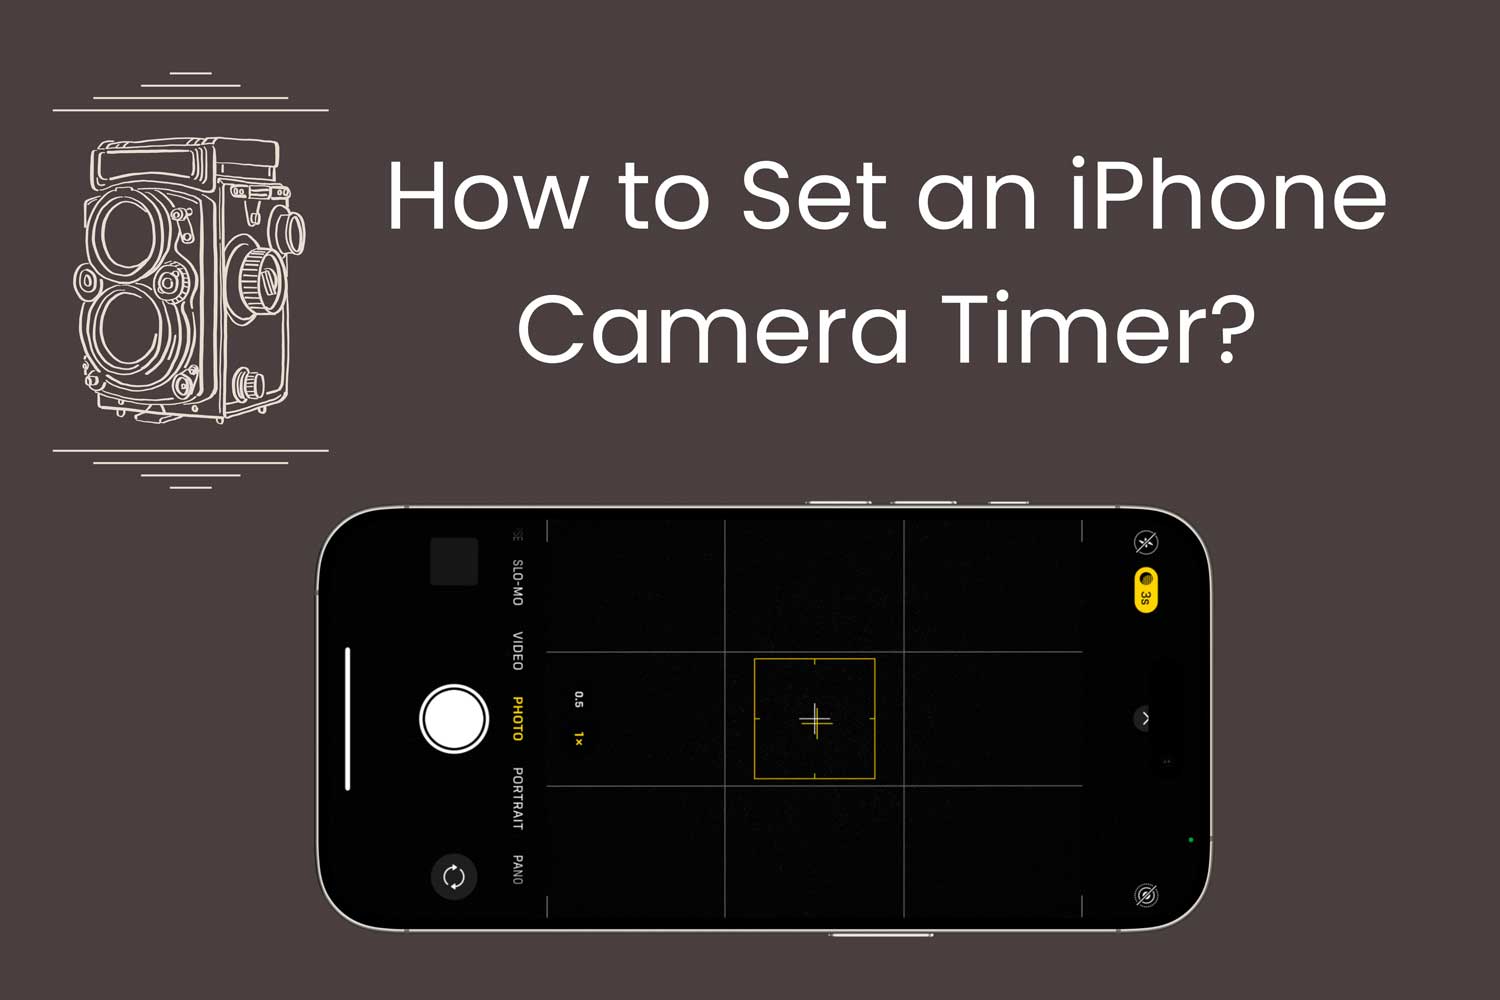
How to set a timer on your iPhone camera
Want to be in more of your photos? Your iPhone’s camera timer is the perfect solution.
It’s great for group shots, solo travel pictures, and more. Here’s how to use it on any iPhone model:
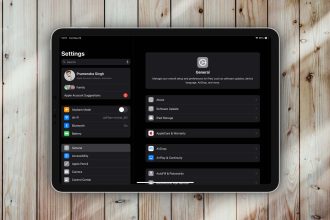
- Open the Camera app on your iPhone.
- Tap the arrow at the top of your screen to see more options.
![]()
- Look for the timer icon and tap it.
- Choose between a 3-second or 10-second delay. Pick what works best for your situation.

- Set up your shot, then tap the shutter button.
- Quickly get into position and wait for the countdown.

Your iPhone’s flash will blink as the timer counts down, giving you a visual cue.
This feature not only helps you get in the picture but also helps stabilize your shots to avoid blurriness.
Now you’re ready to capture all those great moments with you in them! Remember, practice makes perfect. The more you use the timer, the better you’ll get at setting up your shots.
For more helpful iPhone camera tips and tricks, keep an eye out for future articles. We’ll be sharing more ways to make the most of your iPhone’s camera features.
Making the most of your iPhone photo timer
Your iPhone’s camera timer can really improve your photos, whether you’re taking selfies, landscapes, or group shots. Here are some tips to help you capture great images:
Setting up your shot
If you’re using a tripod, try positioning it at eye level for selfies or group photos. This usually gives the best results. But don’t be afraid to experiment with different angles to make your photos more interesting.
Managing light
When you’re taking photos outside, try to have the sun either to one side or behind the camera. This helps avoid glare and ensures your timed photos look great.
Taking night photos
For night shots, it’s best to use a tripod along with your iPhone’s timer. Night photos often need longer exposure times to let in more light, which can lead to blurry images if your hand moves. The timer helps reduce this movement, giving you clearer, sharper nighttime photos.
By using these tips, you’ll be able to make the most of your iPhone’s photo timer. You’ll be taking crisp, clear, and vibrant photos in all sorts of conditions before you know it!
Remember, the key to great photos is practice. The more you use your timer and try different setups, the better your photos will become. So get out there and start shooting!
The takeaway
Using your iPhone’s camera timer is easier than you might think. It’s a simple feature that can make a big difference in your photos.
The main steps are straightforward: open your Camera app, tap the timer icon, choose your delay, and set up your shot.
Whether you’re taking a selfie or a group photo, the timer gives you time to get in position. Remember, you can choose between a 3-second or 10-second delay, depending on what you need.
Some people think using a timer is complicated or only for professional photographers. That’s not true at all.
It’s a user-friendly feature that anyone can use to improve their photos. Plus, it can help reduce camera shake, leading to clearer, sharper images.
The most important thing to remember is that practice makes perfect. Don’t be afraid to experiment with different setups and lighting conditions. The more you use your iPhone’s camera timer, the better your photos will become.
The more you use your iPhone’s camera timer, the better your photos will become. So go ahead, give it a try, and start capturing those moments with you in the picture!
Now that you’ve mastered the camera timer, why not explore other iPhone features?
We’d love to hear about your experiences using the iPhone camera timer. Feel free to share your thoughts in a comment below.


