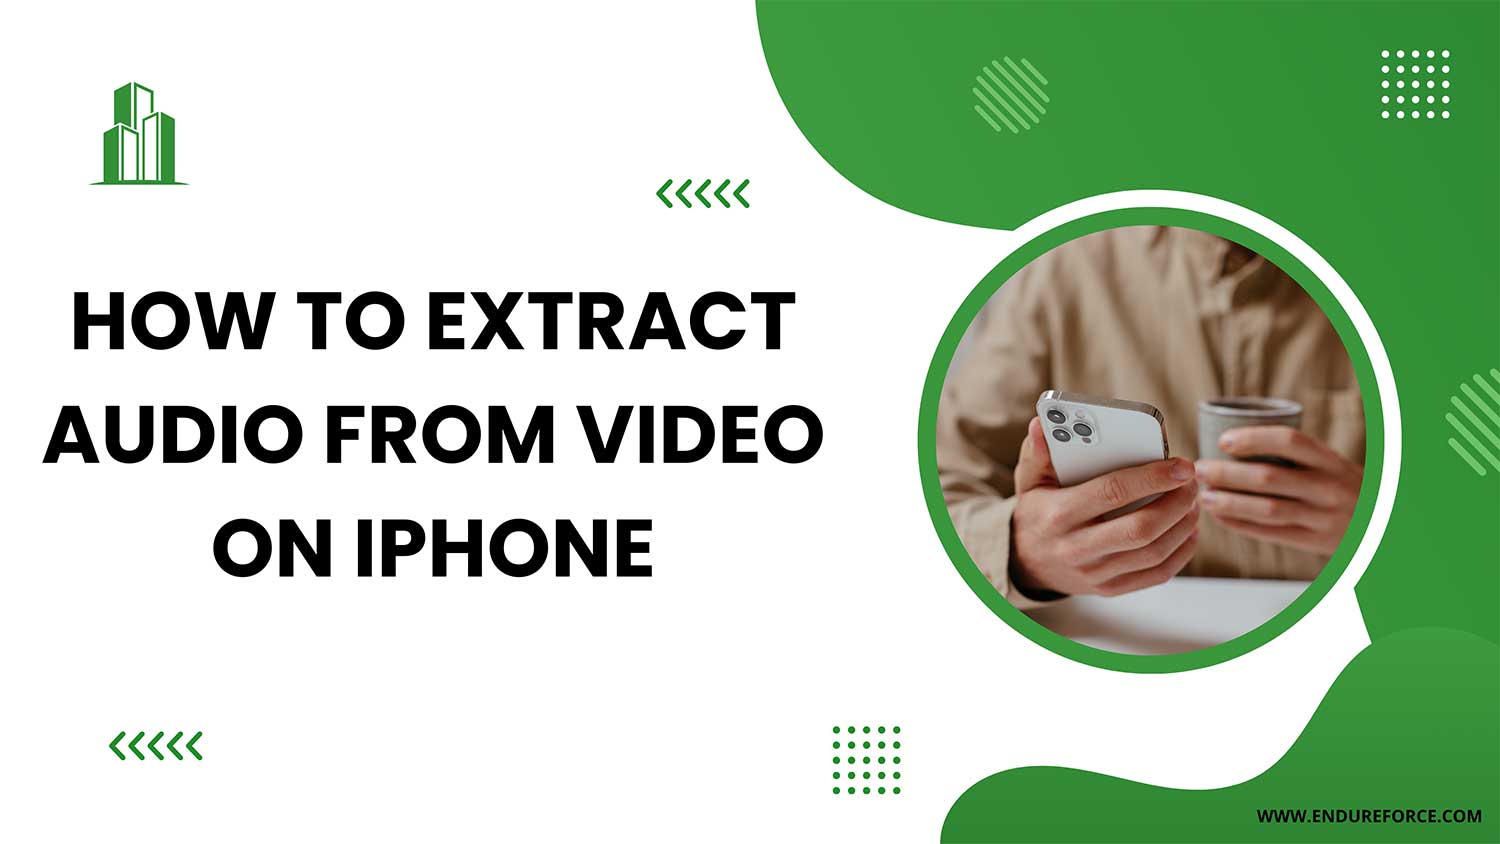
Did you know that every minute, people upload over 500 hours of video to YouTube alone? That’s a lot of content, and sometimes, the audio is the real star of the show.
If you’ve ever found yourself wanting to keep just the sound from a video on your iPhone, you’re not alone.
Extracting audio from a video on your iPhone might seem like a tricky task at first. After all, there’s no big “Extract Audio” button staring you in the face when you open your Camera Roll.
This can be frustrating when you’ve captured a great piece of audio in a video and want to save it separately.
Your iPhone is more capable than you might think. While it doesn’t offer a direct way to pull audio from videos, there are some clever workarounds using apps you probably already have.
Whether you’ve recorded a lecture you want to listen to later, captured a street musician’s performance, or just want to save a funny conversation, this guide will show you how to extract that audio easily.
In the next few minutes, you’ll learn how to use tools like iMovie and Shortcuts to get the job done. Don’t worry if you’re not tech-savvy. We’ll walk you through each step with simple, easy-to-follow instructions.
How to extract audio from a video on your iPhone or iPad.
Want to get just the audio from a video on your Apple device? No worries! There are a couple of easy ways to do this, and you don’t need to be a tech expert.
1. Using an iOS shortcut
First, make sure you have the Shortcuts app on your iPhone. If you don’t, you can easily download it from the App Store.
To create your audio extraction shortcut:
- Open the Shortcuts app and tap the “+” icon in the top-right corner.
- Give your shortcut a name by tapping the default name at the top.
- Tap the “i” icon at the bottom and turn on “Show in Share Sheet“.
- Under “Receive,” keep only “Media” selected.
- Add an “Encode Media” action and set it to “Audio Only“.
- Add a “Save File” action to store your extracted audio.
- Tap “Done” to finish creating your shortcut.
Now that you’ve set up your shortcut, here’s how to use it:
- Open the video you want to extract audio from.
- Tap the share icon and select your new shortcut.
- Choose where you want to save the audio file.
- Wait for the checkmark to appear, indicating success.
You can find your new audio file in the Files app.
If you don’t see your shortcut in the Share Sheet:
- Double-check your shortcut settings.
- Try restarting your iPhone.
- Add the shortcut to your home screen.
- Make sure your video file is in a format your iPhone supports.
If nothing else works, you can always delete the shortcut and create a new one.
This method gives you an easy way to get audio from your videos right on your iPhone.
2. Using an MP3 Converter app
If you want more options, you can try a free app like “MP3 Converter – MP3 Converter: Video to Audio“.
Here’s how to use it:
- Download the app and open it.
- Tap on Gallery.
- Choose where your video is stored (like iCloud or Camera Roll).

- Select your video, choose the MP3, and tap Convert.
- When it’s done, choose how you want to save or share your new audio file.

This app is free but has some ads. If you find yourself using it a lot, you might want to consider upgrading to remove ads and get extra features.
Both these methods are simple ways to get audio from your videos. Try them out and see which one works best for you!
How to extract audio from a video on your Mac
Let’s look at two quick and free ways to get the audio from your videos on your Mac.
You don’t need any special skills or extra software for these methods.
1. Using the right-click method
If you’re using macOS Big Sur, Monterey, or Ventura, here’s how you can easily extract audio:
- Find the video in your Finder folder.
- Right-click on the video (or control-click if you’re using a trackpad).
- Look for the option that says “Encode Selected Video Files” and click it.

- A menu will pop up. Click on the “Setting” dropdown and choose “Audio Only“.
- Click “Continue,” and your Mac will do the rest.

- Your new audio file will be in the same folder as your video. It’ll be saved as an .m4a file, which is a common audio format.

2. Using QuickTime
QuickTime is a handy tool that comes with your Mac. Here’s how you can use it to extract audio:
- Open your video in QuickTime Player.

- Look at the top of your screen and click on “File“.
- Move your mouse down to “Export As“, then click on “Audio Only” in the menu that pops out.

- Give your new audio file a name, choose where you want to save it and click “Save“.

That’s it! Both these methods are simple ways to get the audio from your videos. Try them out and see which one works best for you.
The takeaway
Extracting audio from videos on your iPhone or Mac isn’t as complicated as it might seem.
Whether you want to save a memorable laugh, a special moment, or an important speech, you now have the tools to do it easily.
We’ve explored several methods, from using built-in features like iMovie and QuickTime to creating custom shortcuts and using third-party apps.
Each approach has its strengths, and you can choose the one that best fits your needs and comfort level with technology.
Some people might think you need advanced technical skills or expensive software to pull audio from videos, but that’s not true.
As you’ve seen, your device already has powerful capabilities built right in. With just a few taps or clicks, you can have your audio file ready to go.
Remember, the most important thing is to experiment and find the method that works best for you.
Whether it’s a child’s first words or a favorite song from a concert video, now you can preserve those audio memories with ease. Why not try extracting audio from one of your videos today?


